Categories
Exercise Tutorials Strength Training

Prevent Back Pain in Deadlifts! | Strength Training for Women

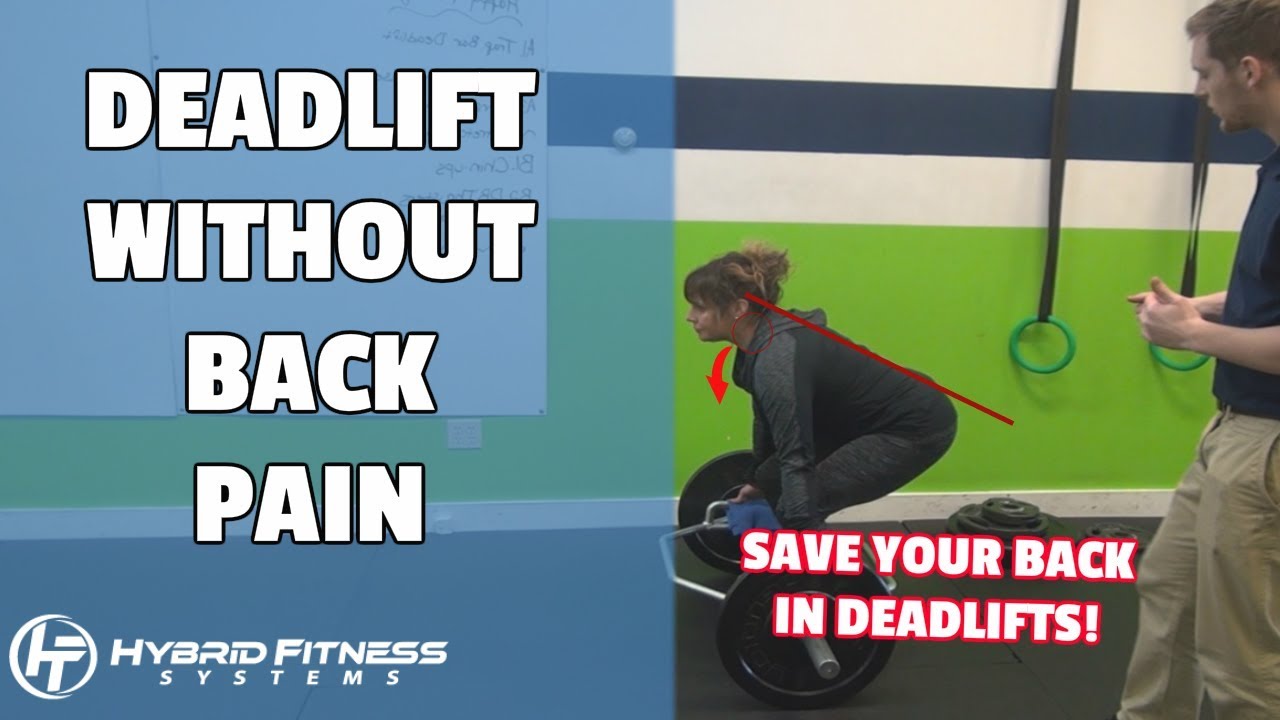
Many women complain of back pain when performing the dead lift. More times than not, this happens because of one or both of these things.

1. Proper setup and technique
2. Improper or lack of activation of proper muscle groups

In this video, Hunter Grindle of Hybrid fitness addresses solutions to both of these problems!

Categories
Nutrition Personal Development Strength Training

5 Secrets to Fat Loss for Women | Fat Loss For Women at Home

This Video Goes over my 5 “Secrets” to Fat Loss.

These secrets fall under 3 categories:

1. Exercise
2. Proper Nutrition
3. Mindset

If you know the daily actions of what you need to do within those 3 categories, you can progress towards your goals!

Categories
Exercise Tutorials Strength Training

11 Best Arm Toning Exercises | Arm Toning Exercises For Women


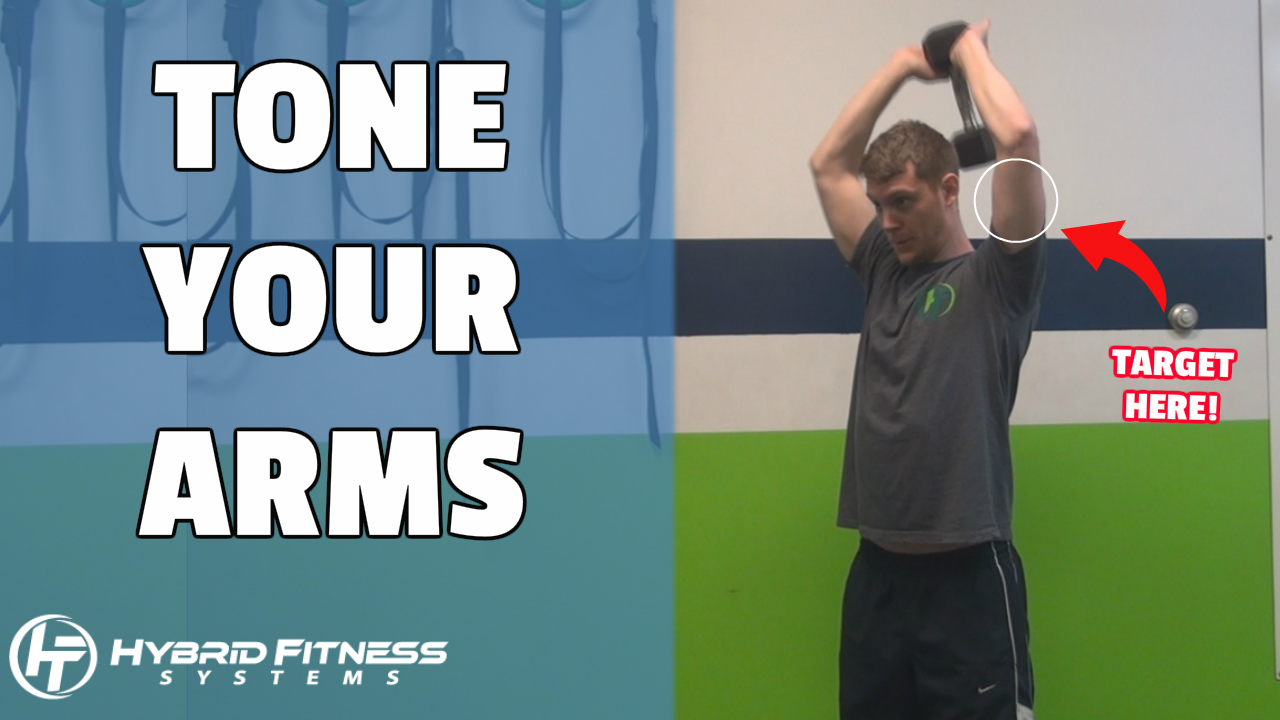
In this video, you are walked through the top 11 Arm toning exercises that can be used by women to tone all areas of the arms, including the shoulders, triceps, and biceps.

You don’t have to worry about getting BULKY ladies 🙂 You will have to worry about all of the compliments you’ll be getting from your friends though 🙂

Categories
Strength Training

Top 3 Strength Training Weight Loss Exercises | For Women Over 50

Top 3 Strength Training Weight Loss Exercises | For Women Over 50

If you’re looking to Burn some Calories and Tone Your Muscle, I’ve got 3 Unique exercises for you that will Accelerate your Weight Loss Goals.

These 3 Exercises are:

  • Joint Friendly
  • Scalable (for all fitness levels)
  • Compound or Combo Movements (uses your entire body)
  • Easy to Do at Home

I’m a huge believer in joint-friendly exercise whether 20 or 60 old – The less wear and tear we can put on your joints the better! These exercises will help you stay pain free while being preventative in the development of joint issues.

We’ll also give you various options to make these movements easier or harder so YOU can chose which one is the best for your fitness level.

All of the exercises are either compound or combo movements. This will allow you to activate the most muscle and burn the most calories!

Finally, these require minimal equipment (at most dumbbells) and can easily be done in the comfort of your own home!


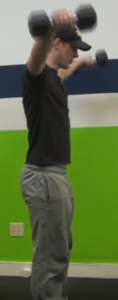
The first movement is a Neutral Grip Dumbbell Thruster.

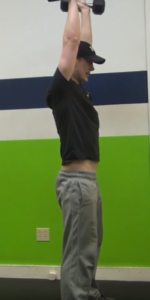
This movement combines a squatting motion with a shoulder press at the top, while keeping the weights perpendicular to your body.

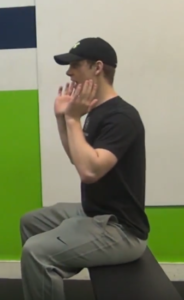
First, hold your dumbbells in a shoulder rack position with feet at shoulder width apart.

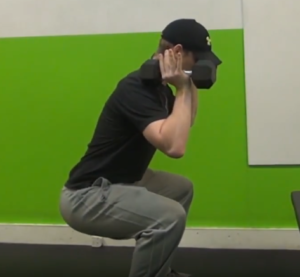
Sit back into your heels as if you were sitting into a chair. Once your legs reach 90 degrees (or your thighs become parallel with the ground, drive through your heels to return back to the standing position and press the dumbbells in line with your ears over your head.


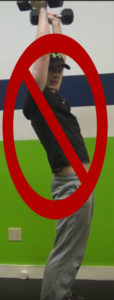
It’s extremely important that throughout the squatting motion that your knees stay in line with your toes. In the pressing movement, it’s essential that you maintain a straight spine. If you are unable to maintain a straight spine throughout the movement, exaggerate squeezing your butt and tightening your core.

If this still doesn’t fix your form, drop the weight with your dumbbells.

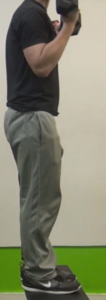
Modifications: If you have trouble squatting to 90 degrees or your knees continue to cave in, I suggest squatting into a chair or onto a box as shown in the picture and video accompanied with this post.


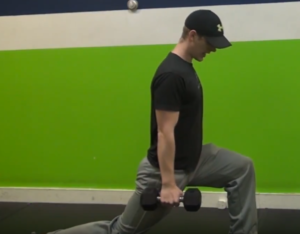
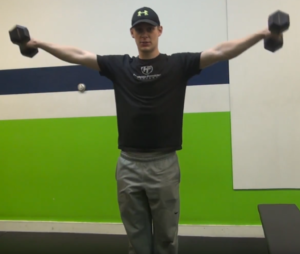
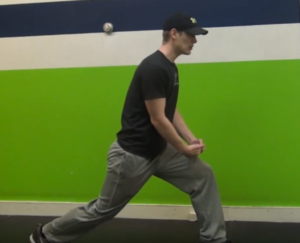
The second movement is the Alternating Reverse Lunge with Lateral Raise.

To begin the movement, hold the dumbbells in your hands and step back creating a 90 Degree in your leg. Make sure your torso remains vertical. As you step back up to the standing position, raise your arms laterally until they are level with your shoulders. Then, step back with the opposite foot, and repeat the motion.


Modifications: To modify this movement, you can change the weights or eliminate them completely until you have mastered the form. If you’re knees bother you in this exercise, reduce the ROM (range of motion) of the movement in your leg so that you don’t create a 90 degree angle. Just go to the point where it doesn’t irritate your joints.


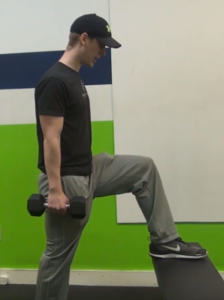
The third movement is the Alternating Step-up with Double Bicep Curl.

To start with this movement, hold the dumbbells to your sides, and step up onto a staircase, box, or bench. The goal is to create a 90 degree angle with your leg. Next, stand up onto the box with the other leg and simultaneously curl the dumbbells while keeping the elbows tucked in to your side. Carefully step back down while lowering the dumbbells to the starting position and repeat the exercise on the opposing leg.


Modifications: To modify this movement, find a lower platform to steup up on. This will place less stress on the knee joint while still working out your leg muscles.


Sample Workout: For 3 Rounds, perform each of these exercises for 30s in the following order:

  1. DB Thrusters x 30s
  2. DB Step Ups with Bicep Curl x 30s
  3. DB Reverse Lunge with Lateral Raise x 30s
  4. Rest 30s

Conclusion

Remember the key points throughout this article when performing the  sample workout! Make sure you’re able to keep proper form throughout each movement, and if not, use the modifications we lay out for you!

If you do the workout and would like to make it more challenging or switch it up, simply change the time of the movements or the number of sets!

For example, instead of performing 3 rounds of 30s on each exercise, you could do 2 rounds of 45s OR 4 Rounds of 30s!

Have fun with it!

Alright, now go get your workout in!

Enjoy!


Categories
Exercise Tutorials Flexibility/Recovery Strength Training

This is How I Roll

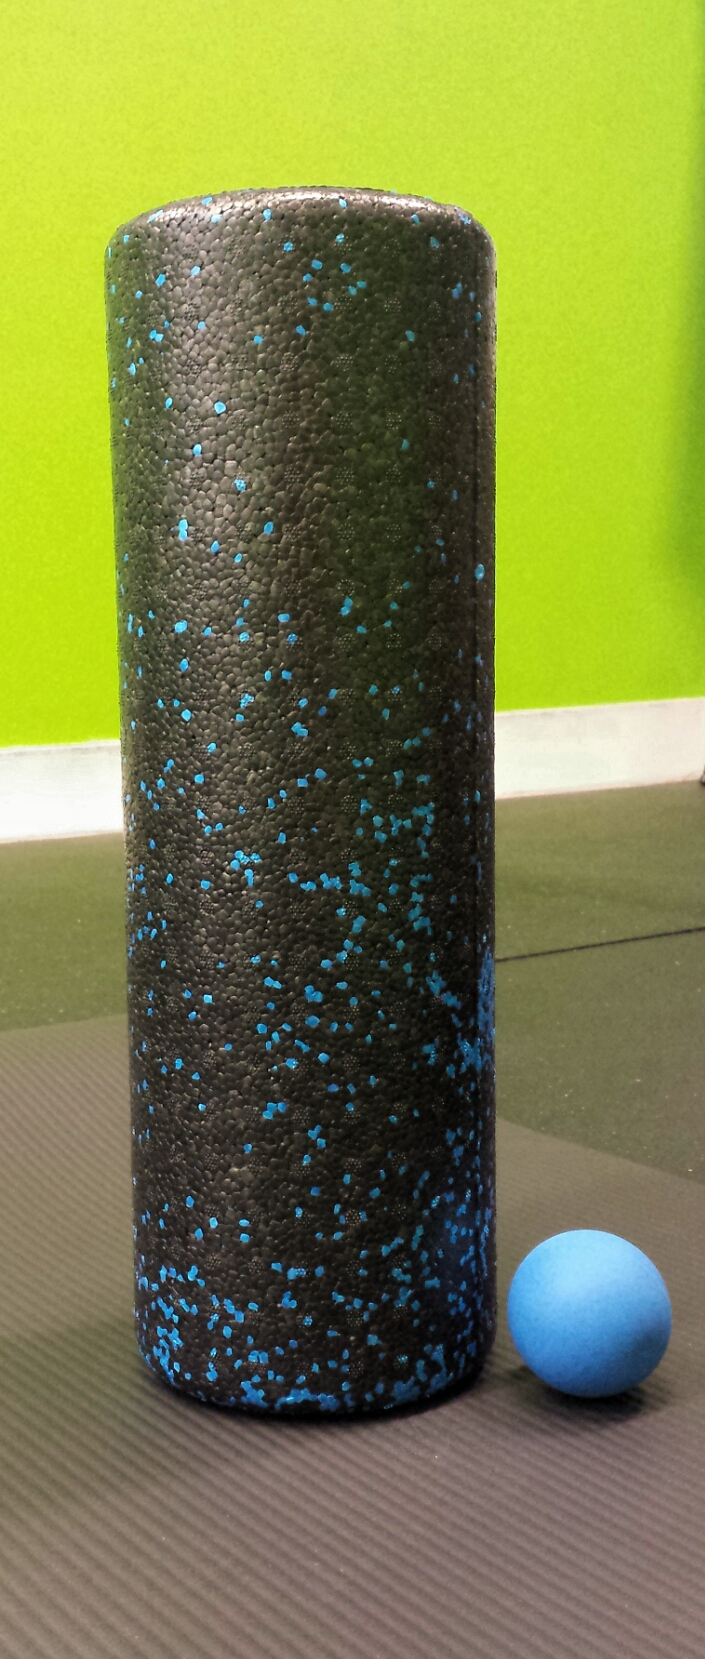
I like to treat myself to a massage three times a week, and not just an absent-minded shoulder rub. I’m talking about a deep tissue, muscle relaxing, performance-enhancing massage. Sounds heavenly, right? Where do I find the time and resources to indulgence myself like that? I’ll share my secret with you…This is self-massage and it’s free with a foam roller. This is such an easy way to treat our bodies right, not only with extra TLC but potentially by promoting healing and recovery.

What is foam rolling and how does it help?

Using a foam roller, or for more precise targeting, a lacrosse ball, apply low pressure by rolling in a long smooth motion across different muscle groups. This action massages the fibrous layer of connective tissue (the myofascial tissue) that surrounds the muscles. By massaging this tissue and smoothing out any knots and binding, we increase blood flow which helps with recovery and increases range of motion.

When should I foam roll?

In a perfect world, foam roll before and after each work out. I like to hit the tight spots coming into a workout. My top three restricted areas are my calves, quads, and upper back. Even with a standing desk, I find my ankles could use a little more mobility after a day at the office. I’ll get a fine looking squat with a little more movement in my joints. So many movements in my daily life are quad dominant so they get knotted up easily and affect my hip flexor mobility and lower back. Sometimes I use the heel of my hand or a lacrosse ball on my legs before a workout if I don’t have time for a full foam roll session. The upper back, or thoracic spine, likes a little attention after hours of phone calls, meetings, and desk fatigue. Even with good posture awareness, this area gets stuck from the occasional slouch or hunch. If I have the roller handy, a nice long roll over my upper back with my neck cradled safely in my hands, I feel all the day’s tension fall away- like water off a duck’s back.

After a workout hit all these spots again and add a nice long roll on the IT band down the side of your leg. For me, with a tricky knee, so much tension builds there and the massage of that tissue makes me a better person. Complete the roll out with the hamstrings, glutes, and lower back.

How long should it take?

For a pre-workout roll, take about 5 minutes, and spend up to 15 minutes as part of a cool down. Roll at a pace of about 1 inch per second, or slower. If you hit a very tender spot, try rolling the area around that first to avoid doing any damage. A little discomfort is normal, but severe pain is not what we are going for here.

Beginner tips:

If you are new to rolling, start slowly. Ask your trainer for instructions and to check that you are hitting the sweet spots. Be sure not to aggravate anything that is already inflamed. Find a way to incorporate this into your training during a dynamic warm-up or a cooldown, or both. Take your time with it, and breathe.

Indulgence

Remember this is your indulgence. Your deep tissue massage. Digging deeper into a painful area can cause tissue or nerve damage, so steer clear of the “no pain, no gain” mentality. If you listen to your muscles and the myofascial tissue surrounding them, you want to hear them take a little breath and then sigh out a sweet, “Thank you for taking care of me.”

Categories
Motivational Personal Development Strength Training

Building Muscle, Building Confidence

I’ve been weaning myself off of the barbell for a few months. I decided to change up my training and depart from the go-big or go-home approach. I’ve gone from high weight/ low repetitions to high reps/ lower weight. I cap my weight increases and change my tempo for a greater challenge. I’m exploring how this feels and listening to my body. Sometimes in a large class I feel a little bit on the outside because my goals might be different, not going for a personal record. But then I remember that everyone’s goals are different all the time. So I just do my thing. One reason I’m backing off the big weight is it does a number on my central nervous system. I’d like to minimize fatigue and brain fog. It’s been a stressful few months, and while I have lots of strategies and mechanisms for copying with stress, my reserves are low. A good strategy for me is to minimize extra fatigue from compound exercises like deadlifts. However, the personal records are important too, and I’m happy I have them. I’ve been reflecting on the value of the p.r. One of the greatest take-aways from the deadlift and rack pulls specifically is the byproduct of self-belief. Yes, fat loss, gaining strength, and feeling good are also amazing byproducts, but the unexpected result is self-belief. The surprise of this discovered confidence makes it even more of a gem.

I’m a pretty confident person about most things, but most things I do, I do all the time. When it comes to the weight room, for the first year especially, most of it was new and most of it came with the thought, “I can’t do that.” I think many of us would agree that so quickly for all of us this initial thought becomes, “I can do that.” How exciting and empowering to have this new narrative. Honestly, sometimes we wonder if we will ever be able to get through the warm up without stopping, or do a one minute plank, wall sits, or bear crawls, let alone any weight lifting. But we do and we believe in ourselves a little more with each success.

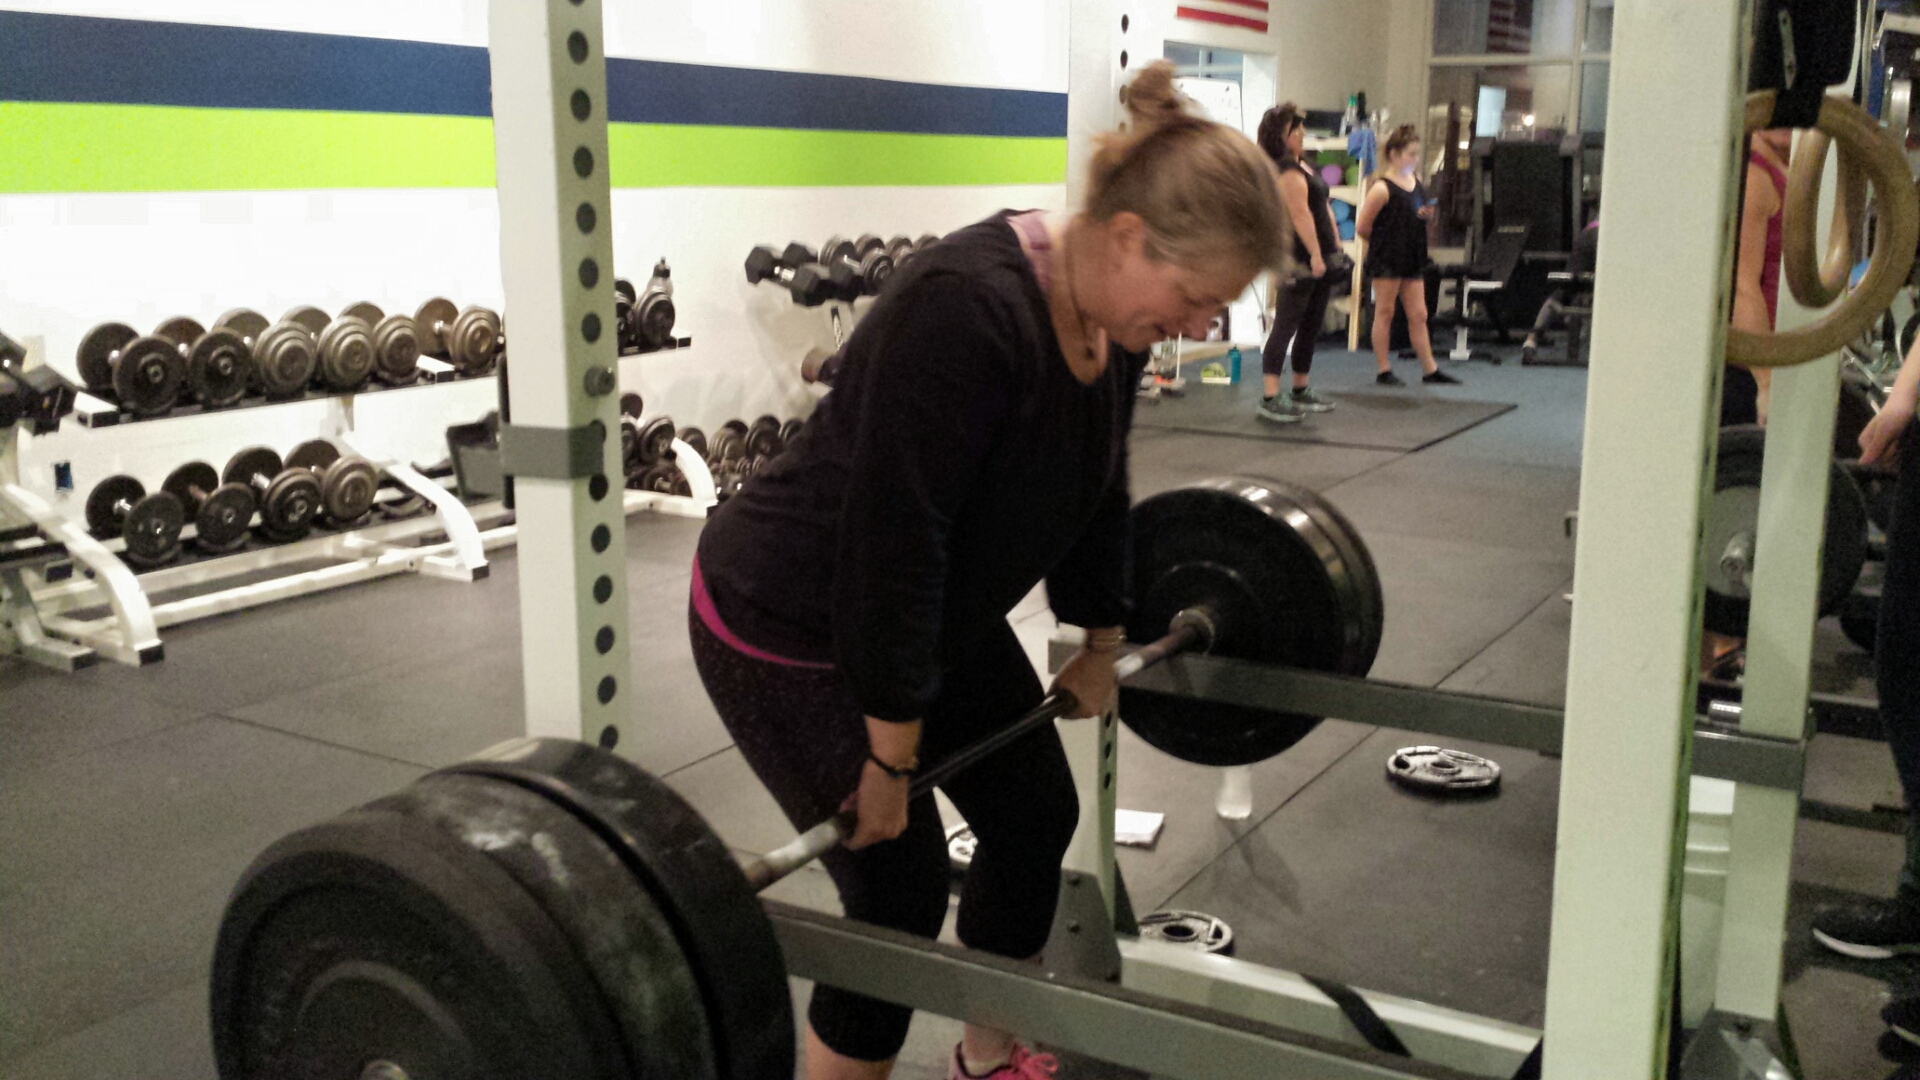
When we start thinking about our own #s, setting goals and accomplishing them, in some way we are rewiring our brains for self-belief. By setting our sights on something that seems out of reach and then achieving that, we boost our confidence and this carries over into other parts of our lives. What else in my life would I like to achieve? What goals can I set? How do I prioritize my routine to get there? What are the steps I need to take? Once you apply the structure, the discipline, and the process to get there- Boom! You reach new p.r.s in your life. For me the barbell is a reminder of all the things I never thought I could do, but actually can. Coincidentally, barbells are not in our routine this month. I’m glad I didn’t have to quit cold turkey, and had self directed through the weaning process, but I look at them fondly with memories of my personal records. Fortunately for me on my last rack pull p.r. of 300#, my workout buddy, Michelle asked if she could take my picture. I’m glad she did, and like Bogart to Bergman in Casablanca , I can say, “We’ll always have Paris.”

Cultivating your self-belief is a wonderful byproduct of attending a gym. What would you like to accomplish that you never thought you could, because you know what? I bet you can!

Categories
Exercise Tutorials Strength Training

Dumbbells vs Barbells for Fat Loss

I once heard the saying – “If your workout programming is the same as it was a year or two ago, you’re probably not doing a good job as a trainer”. Our members at Hybrid Fitness certainly have seen some changes in programming over the past few years – and it constantly changes as we:

  • Get smarter
  • Have access to different and new equipment
  • Have more or less space available to us
  • Have higher or lower attendance in our classes

One of the most effective changes we have made is moving to more dumbbells and kettlebells and less barbells in our large group classes. I want to share with you why we’ve made the changes, and how this has benefited our members.

Whenever we do make changes at Hybrid Fitness, we always keep the most important thing in mind – and that is… as our membership as a whole, what is the main goal?

Is it to be power lifters?

Is it to be as healthy as possible?

Is it drop fat?

Is it to look better?

Is it a combination of these things?

I would say it is certainly a combination of things. The high majority of our members what to:

  1. Burn Fat
  2. Add Lean Muscle
  3. Look Better
  4. Feel Better
  5. Be Healthy

And improve in those five categories in a safe manner.

While there are certainly some exceptions to this (we have some members who want to get super strong), we still have to keep in mind who we are. We are a gym for the every day person who wants to get in better shape and can do that In a fun, judgement-free environment.

Now don’t get me wrong, we have some strong men and women at our gym. We certainly do prioritize resistance training. The way we are doing it, however, has changed.

Keeping our main goal, fat loss, in mind – here is the reasoning behind our programming changes.

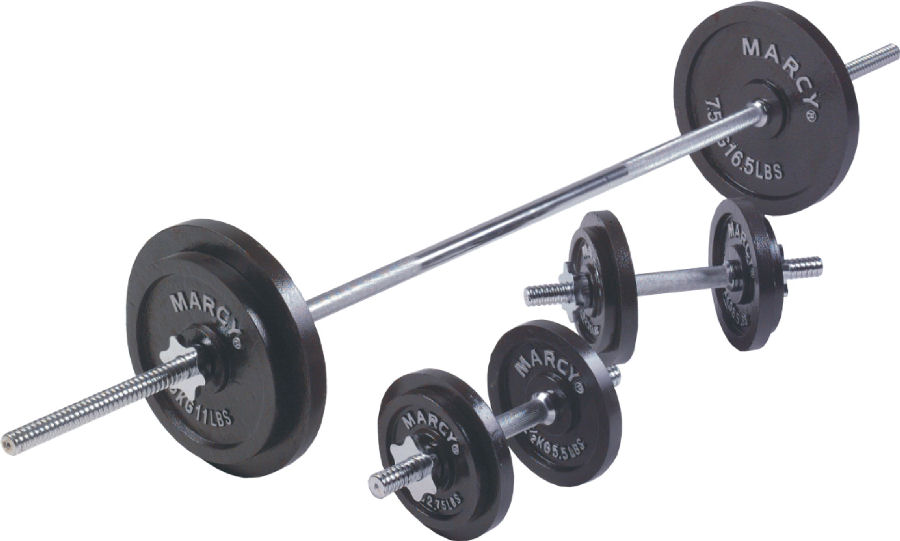
Less Barbells, More Dumbbells

1. Dumbbells Are Safer

Bottom line, dumbbells are safer. In a large group setting of 10+ people where you may or may not have a spotter, you are not going to get pinned under a bar if you don’t complete your repetitions. Furthermore, the majority of dumbbell movements are much less technical than barbell movements. The more technical the movement is – the more chance there is for error, and with a large amount of members in one class, it is very hard to make sure everyone is completing the repetitions with proper form – especially with a single trainer.

2. Transition Times Between Exercises Are Quicker

When it comes to fat loss, having your heart rate up is key. If you can keep you’re heart rate up and do strength training at the same time, you can really make some awesome progress in a reasonable amount of time. With barbells, there is much more transition time between exercises. Because you have to switch weights and put clips on, you are unable to go straight from exercise to exercise. With dumbbells, you can simply drop the dumbbells on the ground and pick up heavier ones. They are already preset and ready to go. This allows you to do more work in less time.

3. Progression is Simpler

In order to maximize barbell work, it can take a lot of hands on help to make sure people are progressing correctly. We constantly found that people would struggle with pushing themselves because of fear (a barbell for a person who hasn’t ever worked out can be intimidating), and lack of knowledge in progressing (we put in multiple efforts to educate people but it still wasn’t happening). The only time we were able to have people work optimally is when they had hands on work with a trainer – and again, with 10-15 people in a class, it’s very hard to give everyone that personalized guidance. Because many people weren’t working with the proper load, their heart rates were low, and their workouts (for fat loss) were ineffective.

Dumbbells are much less intimidating. Also, to progress to a higher weight, you just pick up the ones that are five pounds heavier. Its super simple and easy for a beginner to understand. In the past few months we’ve seen some amazing progress from people who were otherwise at a stand still.

4. Smaller Footprint

Barbells can take up a lot of space, and that can be a safety problem as well as effect transition times between exercises. The we have a very narrow gym, so when someone is deadlifting, they take up the majority of the room. It limits us from doing other movements that could be more effective, and it also lets that heart rate drop back down if you’re waiting in traffic. With dumbbells, we can stack 3 movements together, and you almost wouldn’t have to move.

The Downfalls of Not Using a Barbell

1. Lower Body Exercises

Doing lower body exercises with dumbbells can eventually become a problem when you start to get really strong. You find very soon that you are working more of your upper body than your lower body trying to hold them. When our members get more advanced, we move them to more unilateral (single leg) movements, which essentially doubles the load to their legs.

2. More Technical

Most barbell movements are much more technical – and therefore more dangerous without proper technique and guidance. In a large group setting with one trainer, it is very hard to manage a large number of people performing these movements at the same time.

How We Plan to Overcome the Down Falls

For most, bottlenecking in the dumbbells will only come in the lower body, not the upper body. In this case, we are going to put an order in of trap bars. Here’s why trap bars are awesome.

  1. They allow you to use heavy loads
  2. They are much safer to use than barbells
  3. They take up less space

By using the trap bar, we can get all of the benefits of the barbell, with barely any of the downside.

What About the Small Percentage Who Have Other Goals

Even for those who want to primarily focus on strength, this program is going to be awesome. They will still be able to get stronger, still build plenty of lean muscle, and feel great. The only downside is there won’t be the traditional powerlifting lifts that come with strength training – but that is not needed.

Summary

Overall, utilizing dumbbells more in our large group workouts instead barbells will make our workouts safer, more effective for fat loss, and simpler. Along with that, we’ll be adding in alternatives like the trap bar to get the benefit of heavy weight without the downsides of increased technicality, increased time in between exercises, and taking up a large amount of space.


Categories
Strength Training

Pop Quiz and Body Mechanics

Pop Quiz! When does your kettlebell swing begin? Answer to follow…

Summer fun is coming to a close and a new batch of delightful memories are tucked away. Echoes of lakeside laughter and the patta-a-pat of little feet marching down the dock ramp are fading with the setting sun. I enjoy one last long gaze across the lake, feeling content with another year of honest fun for the family. Moments on this dock are the building blocks of ours and our children’s childhood, the dock itself a solid foundation. Three months out of the year I regard this dock with fondness, appreciation, and a touch of nostalgia. But there are two days when I stare it down like a confronted beast in the wild: Opening day and closing day. In true DIY fashion, we put in and take out our dock each year, like many Mainers do. It is a quick annual ritual with little pomp and circumstance, and usually without issue, save for a few moments when someone moves too fast or not fast enough on one side. This weekend I took care of the haul out with my 82-year-old dad. I’d guess the 20-foot long ramp is over 500#s and the float must be close to 800 or 900#s on its own. My dad and I work well together, swiftly, safely, and always with a joke or two to lighten the mood.

The first part of the job was to take out the fleet attached to the dock. The motorboat got tucked away in its winter home, and the kayaks were brought on shore. Next was the big lift and haul of the ramp. We brought it up on shore in what seemed like a snail’s procession, inch by inch. When it was time for the float, I suggested we wait for help, a few “strong backs,” but Dad was ready for the project to be done- so we continued. The logistics of getting this massive float out of the water and away from shore with our DIY manual tactics are sometimes riddled with comedy (yes, people have ended up backside in the water with a splash), and always flirt on the edge of disaster (we all know the risks involved moving something big and heavy). Almost at its final destination, progress came to a halt as the float hitched itself on a large rock. It needed a clear lift on one end. Without much thought, I squared up to the float. With a slight bend in my knees, my back flat, hinging at the hips, I grabbed hold of the edge and, squeezing my glutes, lifted. Dad gave the beast a good nudge, and we cleared the rock and finished the job.

The achievement of this job was all about body mechanics. Bringing my deadlift form to the task was notably a success. Having suffered back injuries in the past, I am astutely aware of the importance of good form and mechanics. All it takes is an over-reach, twist, or pull and we can be laid up for days. All of us are learning proper form and paying close attention to how we move through our exercises and hopefully bringing this same awareness to our everyday lives. Proper technique, from start to finish, is essential to staying injury free. So when do our movements start?

Pop Quiz Answer! Our kettlebell exercises do not start on the first swing. They actually start when you walk over to the cluster and choose your weight. Too often we see people grabbing a bell sideways, or with a rounded back. This is an invitation to injury. Treat the initial pick up as though it were a deadlift- stand near the bell, slight bend in the knees, hinge at the hips, back flat, inhale and press through your heels. The same rule applies when selecting your dumb bells for box squats, presses, weighted lunges, or re-racking your plates after bigger lifts. Keep good form even during your prep and you minimize the risk of injury. Bring this good habit to your everyday life and you save yourself a lot of backache in the yard, on the lake, or even with a bag of groceries. There’s still a few weeks left for hammock time, and as long as I am getting in and out of that safely, these should be good.

Categories
Exercise Tutorials Flexibility/Recovery Strength Training

Delayed Onset Muscle Soreness: DOMS

We just returned from a two-day adventure around Penobscot Bay. The winds and skies were varied and we adjusted our course accordingly. Day one was a smooth ride around the south side of Vinalhaven, where our hardest decisions were regarding snack management and music choices. In the evening we explored our anchorage, read books, and watched the shooting stars. After a calm night and placid morning the wind picked up and our sail home was sporty and challenging. It was quite a romp across the bay for the quick return to Rockland Harbor. Day one was filled with subtle sail trim and a few bow maneuvers. Day two had a lot more action, quick decision making, but still enough time to think about a few things. I started thinking about cause and effect that is obvious in sailing. When you trim the sail, move the tiller, or gybe the main you get instant feedback from the boat, you know what is going to happen and there is an immediate outcome. In contrast this is not the case this week at the gym for a lot of people.

I heard and saw countless stories of the dreaded Delayed Onset Muscle Soreness (DOMS) after this and last week’s workout. DOMS has a way of sneaking up on you long after your workout. It can begin anywhere from 6-8 hours after exercise to 24-36 hours later. This is nothing like the immediate response of a well trimmed sail. DOMS is pretty mysterious. Several studies try to pinpoint cause and variables of severity with inconsistent findings. Let’s just say it is a scientific perfect storm in our muscles perhaps a result of metabolic stress, trauma, and other factors. Despite the inconclusive findings, there are a few things we know about DOMS.

For many people DOMS occurs after a hard workout, with new exercises or a particular challenge. Anything beyond one’s normal range of intensity can cause soreness. (Always seek medical attention if you suspect an acute injury or something serious.) In particular we experience this type of soreness after a series of eccentric exercises. The eccentric phase of a lift occurs when a muscle contracts when lengthening, for example the downward motion of a biceps curl. Eccentric training is where we achieve our greatest muscle growth, so we certainly don’t want to skip it, and it makes sense it would hurt the most.

Things to know about DOMS:

  • Everyone experiences DOMS differently: onset, duration, intensity.
  • The severity of DOMS is not necessarily a reflection of how hard you worked.
  • The severity of DOMS is not a testimony of your strength or lack of it or your fitness level.
  • DOMS will decrease as your muscles adapt to the same motion. (subsequent weeks will hurt less)
  • It is impossible to avoid DOMS, even for competitive athletes.
  • The best thing to do for DOMS is to keep moving, gently.

While inconclusive as to whether or not it helps, it is best to stay hydrated and well rested, do a full dynamic warm-up, and stretch and foam roll after a workout.

I always get excited when I see “tempo” written on the board. I know I’m going to get some good work in with anything that has this kind of directive. These tempos remind us to slow down on the negative, the lengthening motion, and not just let our muscles fall with gravity. By doing this we are maximizing our gains from the movement. Unlike adjusting a sail, I’m not exactly sure what I’m going to experience after I’ve done 10 reps of a dumbbell incline bench press with a 1 up, 3 down tempo.. And personally this never hits until 36 hours later. Sometimes I’ll go to get out of bed, and I will wonder how I managed to get myself under a turf roller and home again without waking up in the middle of the night. Then I’ll remember I didn’t sleep walk and get rolled over, I just have sore muscles from the gym two evenings ago.

So while you are wobbling a little this week, and putting things on close surfaces with your t-rex arms, take solace in knowing your muscles are strengthening; you’re not the only one; and it will get better even though you didn’t see this coming.

Categories
Strength Training

Target Toning and Spot Reduction

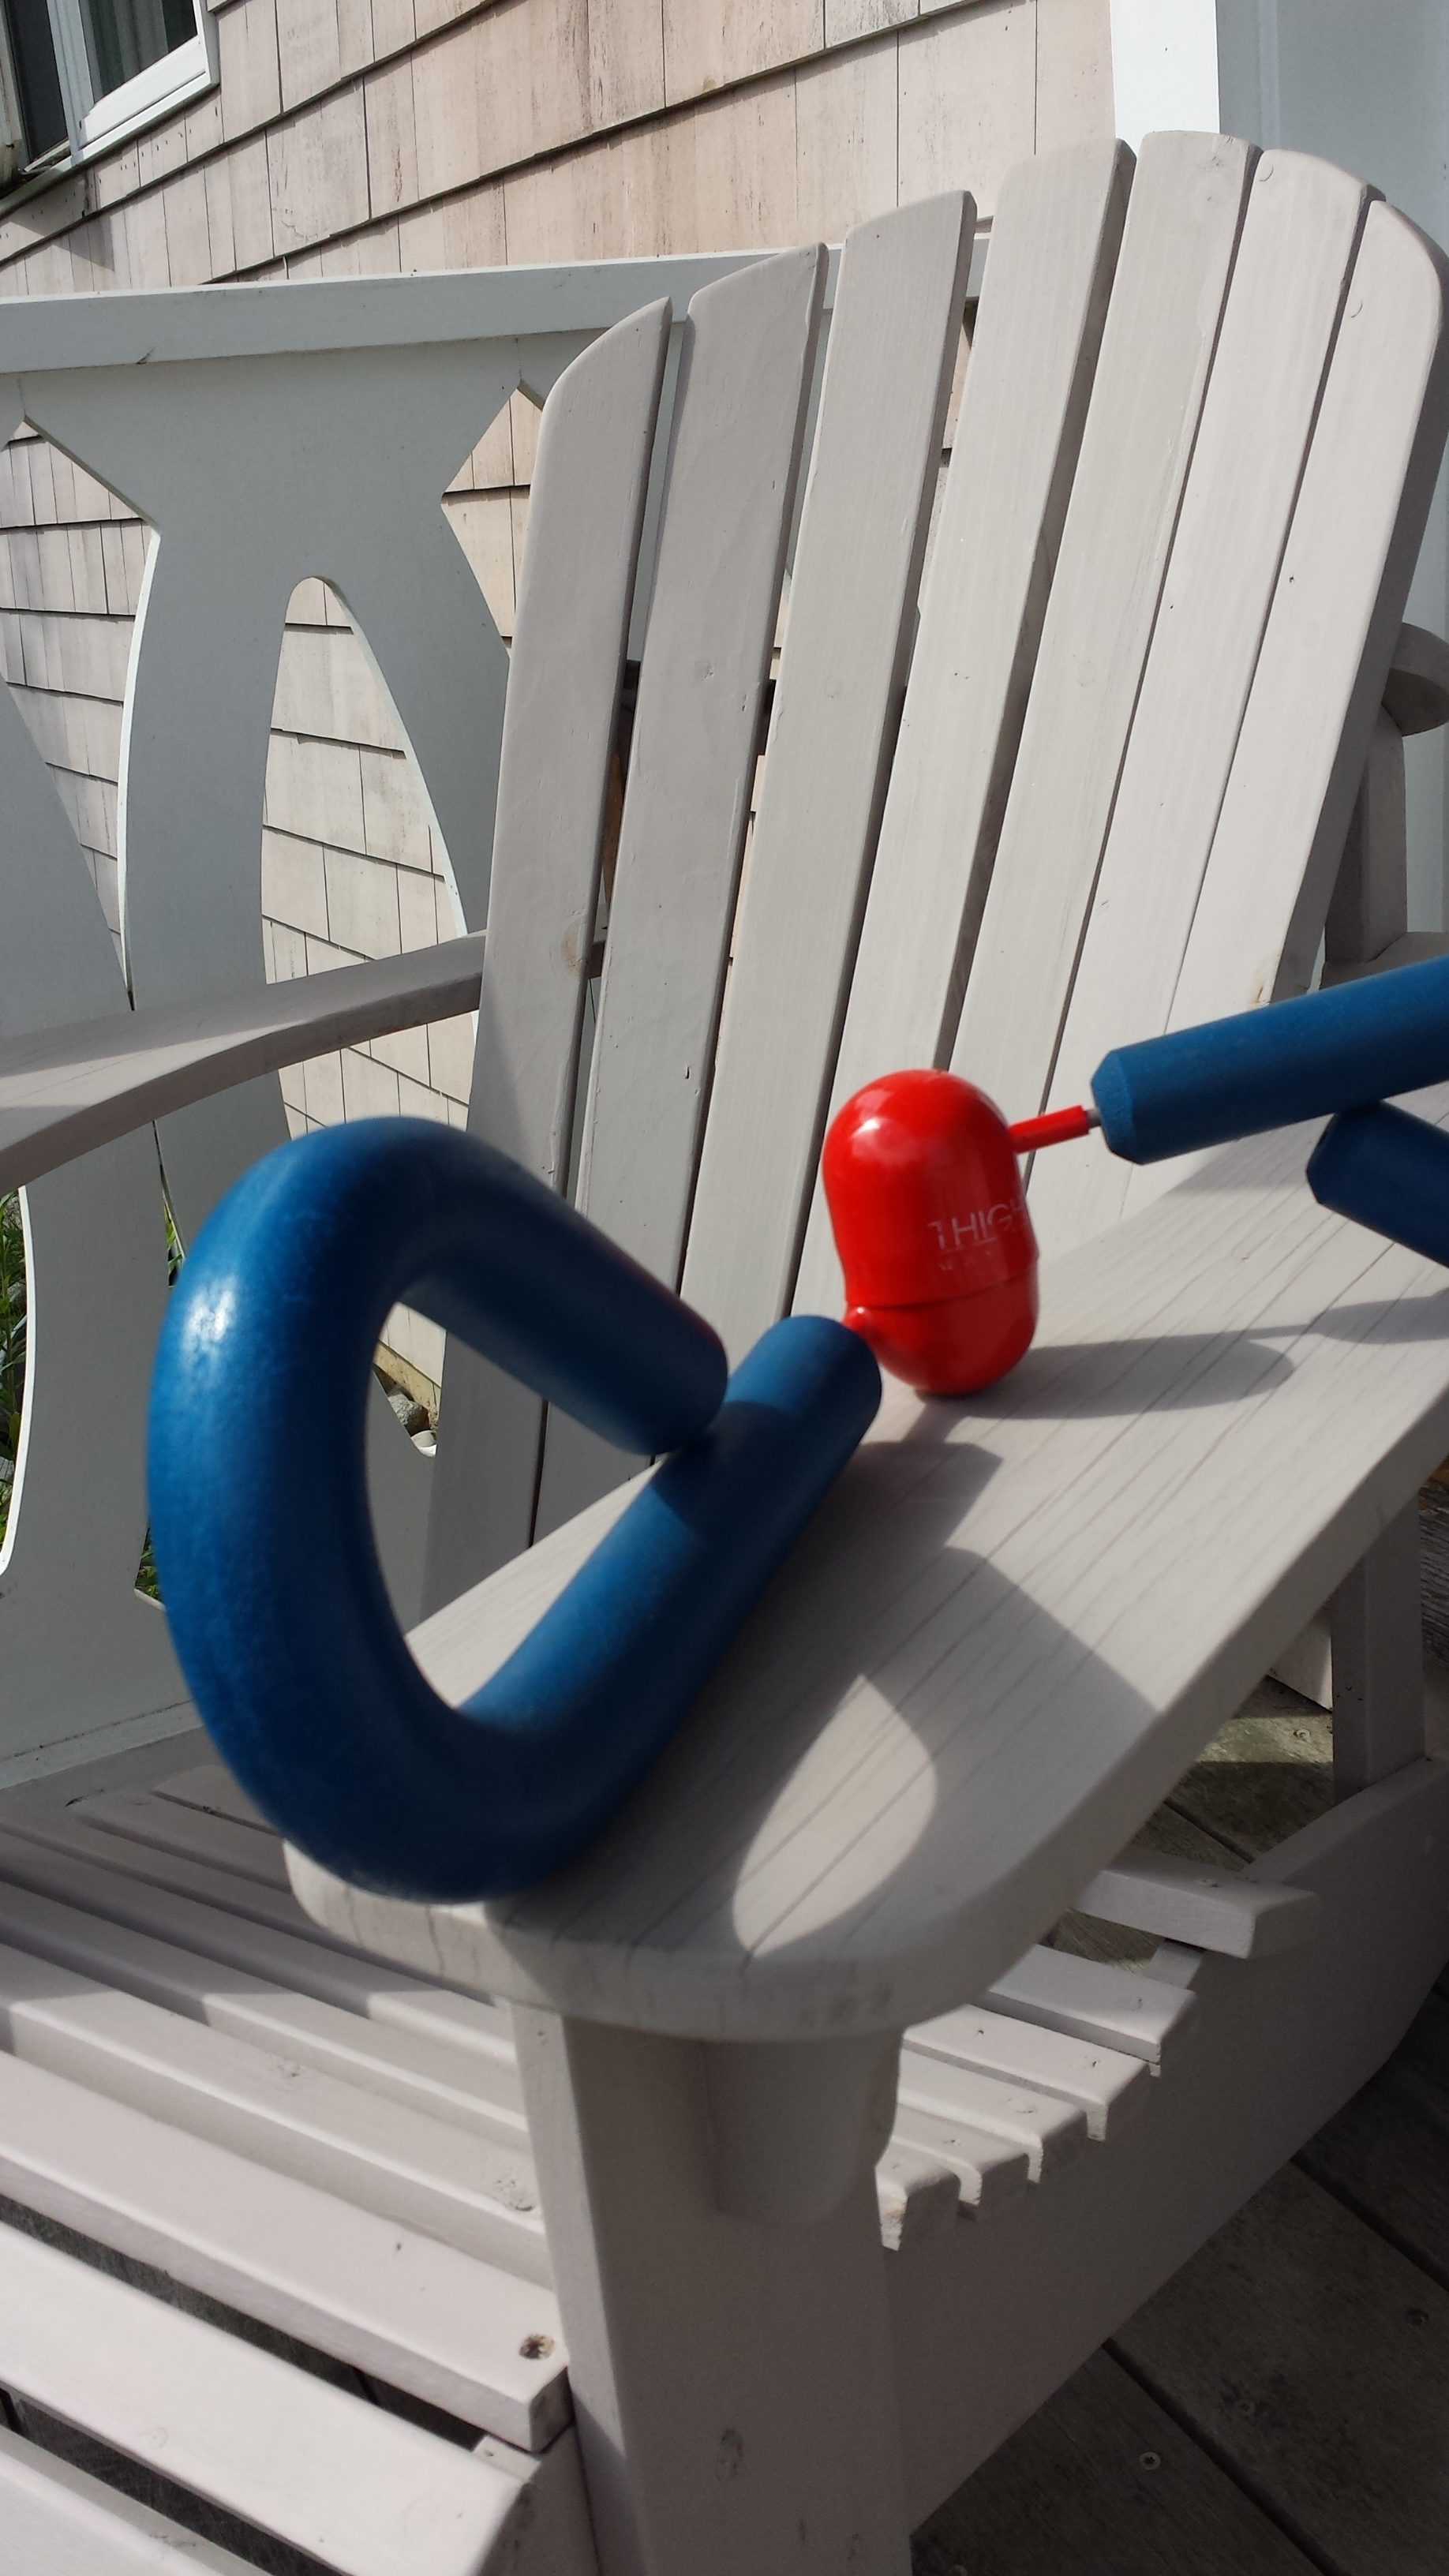
It comes as no surprise that infomercials are not the best source of fitness knowledge. Strewn with outrageous claims…$19.95/month and free shipping if you order now will not guarantee a slimmer waist in just three minutes a day, even if they say so on t.v. I was sorting through a box from the 90s, and I discovered the notorious Thigh Master! I somehow acquired this in a dorm move and always thought it was hysterical. It is a relic of those years when thinner thighs were just three minutes a day away. Hmmm…

The myth that target toning and spot reduction are interchangeable is still used as a marketing strategy today. I am sure there are products out there that promise big results for those “trouble areas.” To put a rest to infomercial misconceptions, know that the gimmicks for spot reduction don’t work. Just because you are working a certain muscle group does not mean you’re losing the fat that covers that muscle. During a workout our muscles are fueled by carbohydrates, fat, and protein pulled from anywhere in the body, not just your targeted spot. Subcutaneous fat loss is more systemic and general than that. The good news is with our workouts we will see overall fat loss, and with target toning we can tone certain muscle groups. So arm curls will not necessarily help shed the extra weight we sometimes carry in our arms, but they will help tone and strengthen those muscles. While sit ups won’t give us a slimmer waistline, they do help strengthen our core.

Our best exercise offense to our fat loss goals is building muscle so that our metabolism increases and we burn more calories. A whole body workout (with proper nutrition) is more efficient for this goal. Couple this with target toning exercises and you can definitely feel results and eventually see them as well. As for the Thigh Master, I’m going to box it up for another ten years and get another laugh from it when I sell it on eBay as a collectable.